



Guía de configuración e instalación
Guía definitiva de configuración e instalación Contenido del vídeo
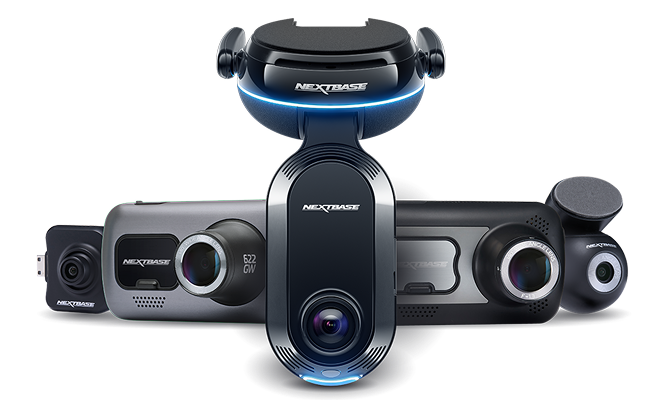
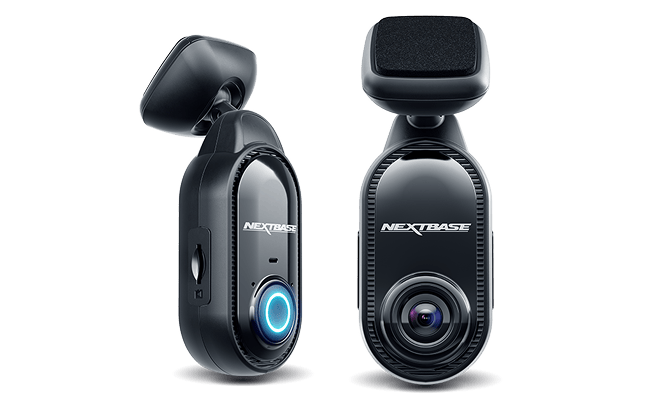
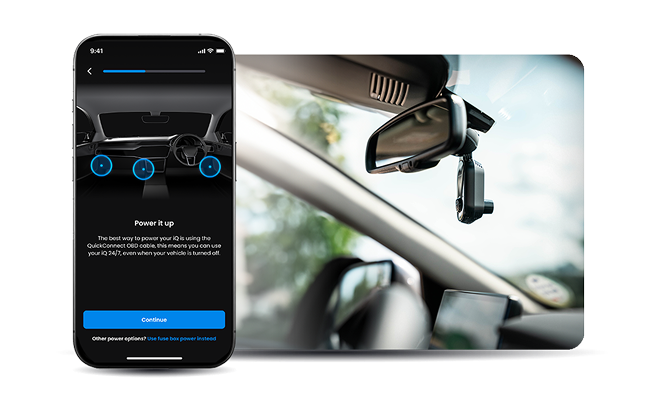
Once you’ve chosen the dash cam to suit your preferences, you’ll need to install it to benefit from high-quality, clear footage on every journey, for your peace of mind. Installing Nextbase dash cams is quick and easy, and with our set-up and install guide, you can complete the process yourself. Find out more about how to install a dash cam below, including rear cameras for full coverage.
Nextbase Click&Go PRO Mount - Cómo instalar la nueva almohadilla 3M
La guía definitiva de configuración
Cómo configurar tu Dash Cam
STEP 1 - GIVE IT SOME JUICE
Before you can start using your Dash Cam, you’ll need to unbox and plug it in to bring it to life. Charge the Dash Cam via the supplied USB for up to two hours before first use.
PASO 2 - DESCARGA LA APLICACIÓN
Aplicación Nextbase
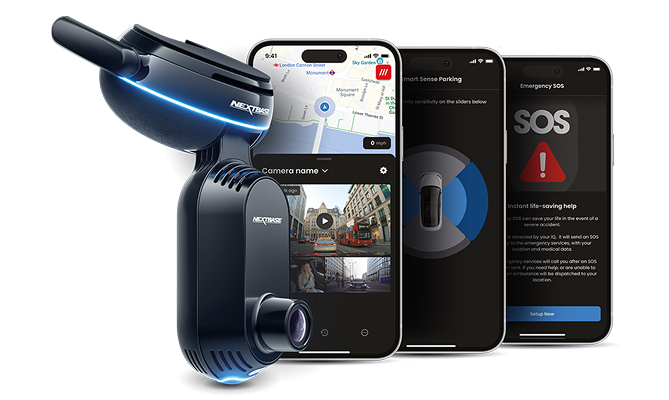
Once charged, download the Nextbase app to get the most from your new dash cam. With the app, you can view, edit and share footage on your mobile or desktop app, as well as update your dash cams firmware. The app is Required for use with Emergency SOS and Voice Control. You can purchase the app on GooglePlay or via the App Store. It requires Android 5.1 and up, IOS 12.1 or later.
Requiere Android 5.1 o superior o IOS 12.1 o posterior
PASO 3
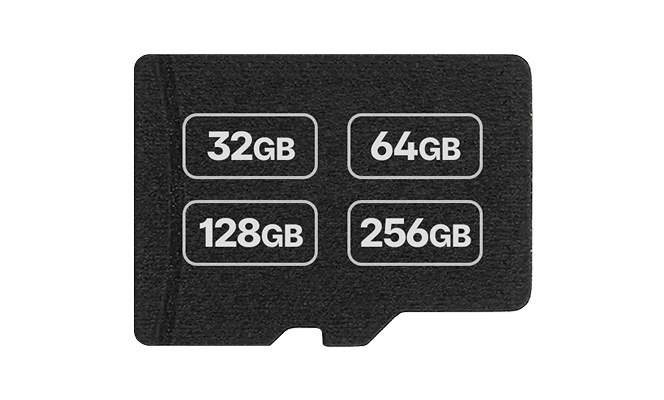
Inserta la tarjeta microSD.
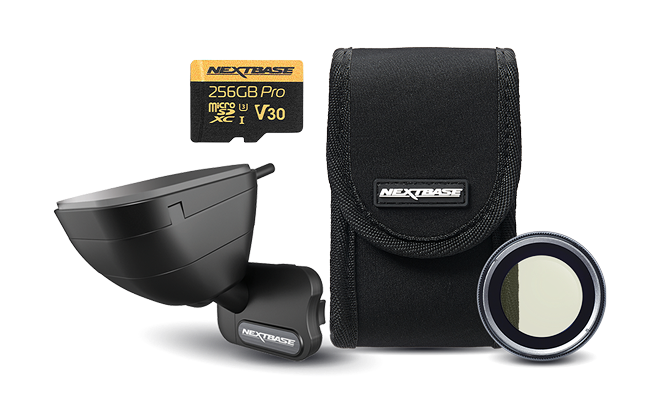
Your SD card is where the footage will be stored, ready to use when needed. You’ll have to insert a Nextbase MicroSD into your dash cam during set-up. Make sure you use only a Nextbase U3 SD card. Standard SD cards are NOT RECOMMENDED and may adversely affect performance.
PASO 4
Soporte de posición y cables -
Now you can connect your dash cam to your vehicle for power. Insert your Power Cord into the mount. You’ll find the computer USB input located on Dash Cam for convenience. For more help see the video below.
PASO 5
Tienda el cable y conecte la alimentación -
When the power cord is attached, guide the cable around your windshield and pull the wire through to the base of the Click&Go mount to plug in. Position the Dash Cam correctly for a clear view of the road ahead.
PASO 6
Siga las instrucciones de la pantalla
Your dash cam will display further instructions to help you set it up in a way that works for you. From here, you can set your preferred language, country, time zone, time and date.
PASO 7
Ajustar el filtro polarizador -
Next, you’ll need to adjust the polarising filter within your dash cam — this can be found in 522GW & 622GW models. You can adjust this using the rotating bezel to dramatically reduce windshield glare and help produce the perfect image.
MÓDULOS TRASEROS
Thinking about installing a rear dash cam? Here are some of the options available at Nextbase:
A
CÁMARA DE LA VENTANILLA TRASERA
This type of dash cam has a Cable connection to your rear windshield. It provides comprehensive protection against tailgaters and rear-end impacts to reduce incidents on the road.
B
CÁMARA DE VISIÓN TRASERA
Another rear view camera drivers can install in their vehicle is the Rear View Camera. You can record the rear view of your journey through the car using a 50m zoom lens. This helps to guard against tailgaters and rear-end impacts.
C
CÁMARA DE VISIÓN DE CABINA
The Cabin View Rear Dash Cam records the rear view of your journey through the car using a 50m zoom lens. This helps to protect drivers against tailgaters and rear-end impacts on the road.
FUNCIONA MEJOR CON
NEXTBASE SD CARDS
Nextbase Industrial Grade U3 microSD Cards are designed to ensure uninterrupted recording with a high number of write cycles. Non-compatible SD Cards will corrupt, causing the Dash Cam to freeze, stop recording, or malfunction.
At Nextbase, we have a range of SD cards available when setting up your dash cam. Choose from SD cards with storage capacities to suit your needs, from 32GB to 256GB. Explore your options below:
Tiempo de grabación
FRENTE SOLO
1080p
280 minutos
1080p
570 minutos
1080p
1130 minutos
1080p
2260 mins
DELANTERO Y TRASERO
1080p/720p
200 minutos
1080p/720p
395 minutos
1080p/720p
790 minutos
1080p/720p
1580 mins
FRENTE SOLO
1440p
140 minutos
1440p
1440p
545 minutos
1440p
1080 mins
DELANTERO Y TRASERO
1440p/720p
1440p/720p
230 minutos
1440p/720p
460 minutos
1440p/720p
920 mins
FRENTE SOLO
4K
80 minutos
4K
165 minutos
4K
330 minutos
4K
720 minutos
DELANTERO Y TRASERO
4K/1080p
60 minutos
4K/1080p
120 minutos
4K/1080p
250 minutos
4K/1080p
540 minutos
DELANTERO Y TRASERO
4K/1080p
60 minutos
4K/1080p
120 minutos
4K/1080p
250 minutos
4K/1080p
540 minutos
Tarjetas SD Nextbase
Cómo cablear una Dash Cam Nextbase
When learning how to install a dash cam, you’ll need to decide whether you’d prefer to hardwire it into your car’s electrical system, rather than power it through the USB. If you’d prefer this option, watch our video below for a step-by-step guide.
¿Necesita más ayuda?
Visit: Technical Support : contact-us
Visit: Technical Support : https://www.nextbase.co.uk/contact-us/
Para cualquier consulta técnica, incluida la asistencia, la configuración general o la garantía, póngase en contacto con nuestro equipo de asistencia.
Gracias, señor.